Friday, 17 October 2014

Game Engines Blog 2

Most of the lectures the past couple weeks have been reviewing topics we’ve already learned to sort of get them fresh in our mind. We went over things like vectors, matrices and the math between them. We also went over the different spaces such as screen space, tangent space, etc. I’m glad we went over these topics because its been a while since I’ve reviewed them myself.


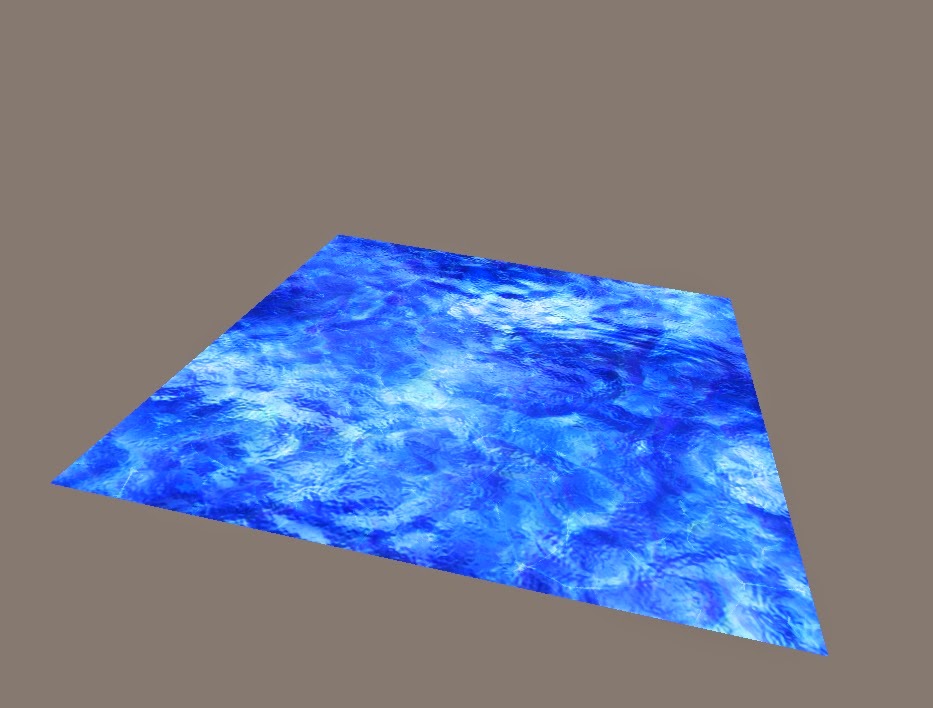
A couple weeks ago I began working on rendering water for a homework question. I finally got it working after several problems with updating uniform values in tloc. The problem was that I wasn’t using shader operators in my code. I plan on continuing to work on the water questions and hopefully implement really cool looking water into our game. Currently my water is basically just a scrolling texture on a quad. Below is a screenshot of my simple water so far.


In yesterday’s tutorial we learned how to expand and create our own component systems. In the tutorial we made a simple health system. Right after the tutorial I started thinking about how what we did in class could translate to our game. I think a simple system just like the health system we made could be used for our stamina mechanic our game.

Friday, 26 September 2014

Game Engines Blog 1

One of the most important topics we learned during these first three weeks was entity component systems. We were shown two images to help understand entity component systems a little better. Entities can be seen as a key with the teeth of the key being its different components. Systems can be seen as locks which require an entity (key) to begin working.


We also looked at scene graphs which is used for node parenting. Scene graphs can be extremely useful for understanding how objects in games should be interacting with each other. For example when a character is using a bow and arrow the arrow would go from being parented to the character to the bow and then to the environment.


I started playing around with TortoiseHg. Last year we actually made a repository for our game but we never ended up using it. After making a test repository and doing very simple commits, pushes, pulls and updates, I now understand how useful having a repository is. I actually wish we used a repository for our code last year because I feel like we had wasted way too much time just trying to resolve issues that would’ve been way easier to fix with simple version control. I’m actually kind of looking forward to keeping a repository of our game. It will be nice for keeping our project clean and neat and not having several folders of different versions of the game on our desktops.


Friday, 11 April 2014

Week 12 - game con

There was no lecture on friday due to Level Up. Our group wasn't chosen to showcase our game, all of the games this year were really impressive and I hope that UOIT represented well at Level Up. Gamecon was on monday and it was really tiring fun as well. I enjoyed looking at and playing all of the other games developed by UOIT gamedev students.
As expected we spent the night before gamecon touching up our game. We added nice visual effects including bloom and better lighting. Here are a couple screenshots for comparison.

old

new

Unfortunately implementing the better graphics presented us with other bugs to deal with. Our unit selected no longer worked correctly and we had to implement a really difficult to use temporary fix. This selected issue should be fixed before the final submission.


Saturday, 22 March 2014

Week 11 - Motion Blur

On Monday a lot of the studios got to show off their games to the rest of the class. Everybody's games are starting to come together and look really great, a huge step up from first semester.


Above is a screenshot of the new lighting system in our game. By next week i'll have screenshots of our entire first level instead of just one model. 

Motion Blur:

Motion blur is an effect that is caused when the image being recorded or rendered changes during the recording of a single frame. This can be caused either by rapid movement or long exposure. 

There are many ways of implementing motion blur. There is an easy way that involves the use of the accumulation buffer. The downside to this method is that it requires rendering each frame multiple times, if you want a lot of blur or have a lot of geometry that can cause slow downs.

- draw the frame
- load the accumulation buffer with a portion of the current frame
- loop and draw the last n frames and accumulate.
- display the final scene

The more modern way or effective way of doing motion blur involves the use of motion vectors. To do motion blur with motion vectors you need to calculate each pixel's screen space velocity then that velocity is used to do the blur. The calculation of this vector is done in fragment shader on a per-pixel basis. 


Monday, 17 March 2014

Week 10 - Depth of Field

This week we learned about depth of field and had an in-class competition on friday.

Depth of field is an effect that causes objects that are out of focus to appear blurry.
Computer graphics uses the pinhole camera model which results in perfectly sharp images. The pinhole camera model only lets a single ray through. Real cameras use lenses with finite dimensions which is what causes depth of field.


Depth of Field Implementation:
- Use destination alpha channel to store per-pixel depth and blurriness information.
- Use fragment shader for post-processing
- Downsample and pre-blur the image
- Use variable size filter kernel to approximate circle of confusion
- Blend between original and pre-blurred image for better image quality
- Take measures to prevent "leaking" sharp foreground into blurry background
- We pass the camera distance of three planes to scene shaders
     - Focal plane: points on this plane are in focus
     - Near plane: Everything closer than this is fully blurred
     - Far plane: Everything beyond the far plane is fully blurred

Monday, 10 March 2014

Week 9 - Lighting and Deferred lighting

This week we watched a conference video about God of War's lighting system and we also looked at deferred lighting.


 During the presentation they explained the process behind their shadows:

ZPrePass -> Cascade 2 -> WB Shadow Map -> Cascade 1 -> WB Shadow Map -> Cascade 0 *

* -> WB Shadow Map -> Opaque -> Transparent+Effects+UI+Flip

I'm really interested in learning more about their use of the white buffer and just the uses of the white buffer in general.

Our second lecture this week was on deferred lighting.

Deferred lighting is a screen-space lighting technique where the lighting is postponed or deferred until the second pass hence the name deferred lighting or shading.


One of the advantages of deferred lighting is lighting is now based on number of lights instead of the actual geometry allowing you to have a lot more lights in your scene. Some downsides to deferred lighting is that its difficult to do antialiasing, transparent objects still need to be done separately, hard to use multiple materials, memory bandwidth, and shadows are still seperate.

Sunday, 2 March 2014

Week 8 - Midterm and Tidbits

On Monday we had our midterm for intermediate computer graphics. I think it was a pretty good midterm, it wasn't too difficult but also it wasn't too easy. 

During our lecture this week Dr. Hogue talked about little tidbits to add on to what we've already learned. First we talked about colours and the different ways of representing colour.  

We also talked about thresholding. Thresholding is a image processing effect that basically turns an image into a binary image (black and white). Thresholding is useful in technologies like QR code cameras
We also looked at several different convolution kernels like image sharpening, blurring and motion blur.